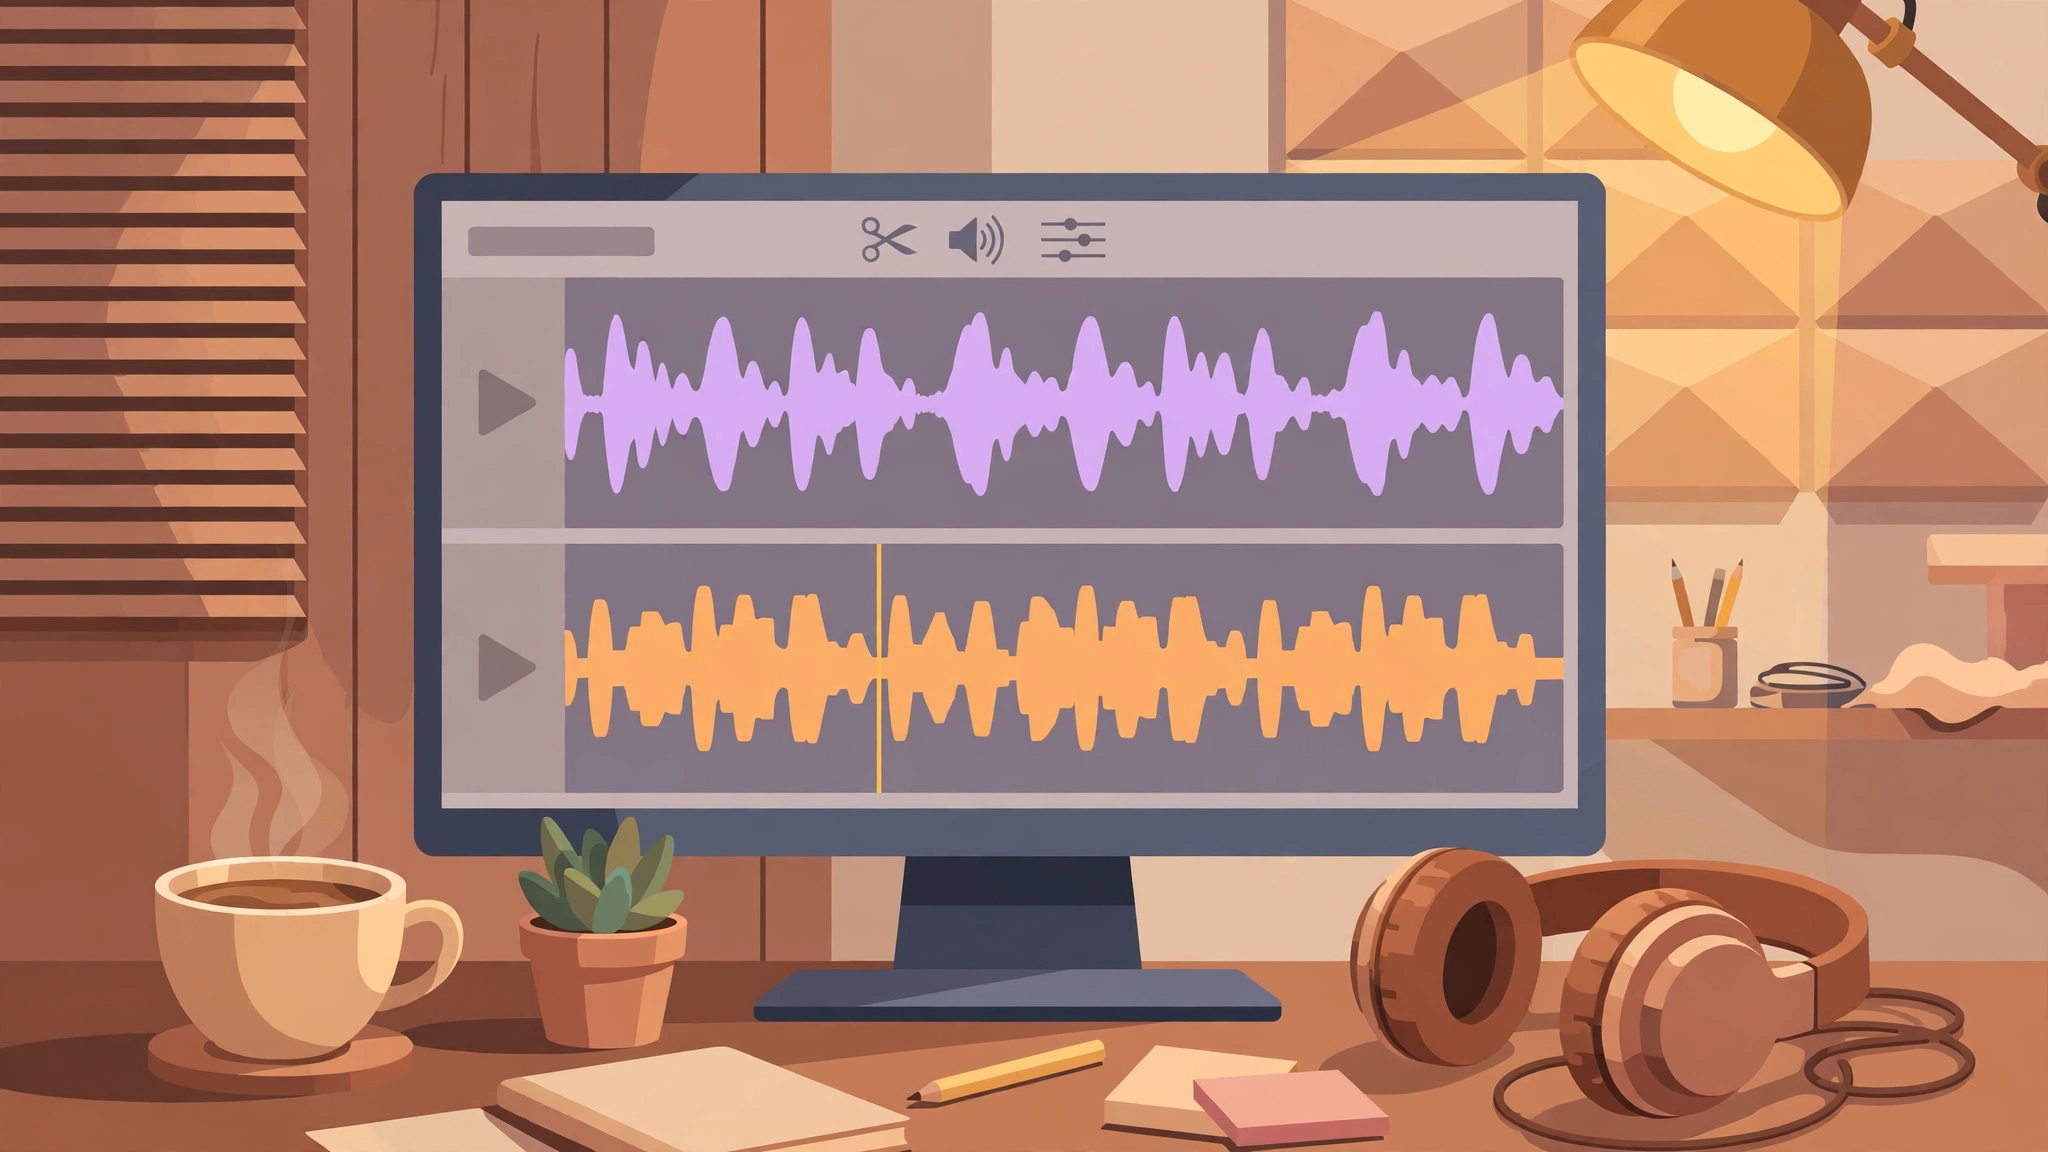
How to Remove Vocals from a Song: The Short Answer
To remove vocals from a song, upload the audio file to a free AI vocal remover and download the instrumental it produces. For a one-off song, a free online tool such as VocalRemover.org does the job in your browser in a few minutes. For regular work, the free desktop editor Audacity removes vocals offline with no upload limits. On a phone, an app such as Moises separates vocals, instruments, tempo, and key in one place. Save the result as WAV if you plan to edit or mix it, or MP3 for casual listening and karaoke. This guide shows every method step by step, explains why the result sometimes sounds thin, and covers the copyright rule that matters before you share anything.
Table of Contents
Key Takeaways
- Removing vocals means splitting a finished song into separate stems — usually an isolated vocal track and a vocal-free instrumental — using AI source separation.
- Online AI removers are fastest for a single song; Audacity is best for free offline work; Moises is best on a phone.
- Start with the cleanest file you have: a WAV or FLAC separates better than a low-bitrate MP3.
- Faint vocals, leftover reverb, and thin-sounding instruments are normal — they are estimates, not the original studio tracks.
- Removing the vocals does not remove the copyright: the instrumental you made is still someone else’s recording and composition.
- For a song you plan to release or monetise, a properly licensed instrumental is faster and safer than a vocal-removed one.
What Does Removing Vocals from a Song Actually Mean?
A finished song is normally one stereo mix, not a folder of separate tracks. The voice, drums, bass, and guitars have already been blended together. Vocal removal attempts to reconstruct the parts after they have been mixed — it cannot simply delete the singer, because the voice and the guitar share the same frequencies at the same moments.
Modern AI tools do this with source separation: a model listens to the full recording and estimates which sounds belong to the voice and which belong to the backing music. A standard vocal remover creates two synchronised outputs — an isolated vocal (often called an acapella) and a vocal-free instrumental (often called a karaoke track). More advanced tools split the song further, into drums, bass, guitar, and piano — those separate parts are called stems.
The result is an estimate, not access to the original studio session. Vocal reverb may remain in the instrumental. Cymbals or synths that overlap the vocal range may sound thin. Knowing this before you start keeps expectations honest — and explains every fix in this guide.
Pick Your Method First: Which Way to Remove Vocals from a Song?
There is no single best way to remove vocals from a song — the right method depends on the file, the device, and what you will do with the result. Use this table to decide in seconds.
| Situation | Best method | Why |
|---|---|---|
| One song, quick job | Online AI vocal remover | Nothing to install; done in a few minutes |
| Regular work, free, offline | Audacity | No uploads, no daily limits, full editing after |
| On an iPhone or Android | Moises app | Separates stems and adjusts tempo and key |
| You need every stem (drums, bass, guitar) | Multi-stem splitter | Full control for remixing and practice |
| Professional mix or release | Licensed instrumental | Clean, legal, no artifacts |
How to Remove Vocals from a Song Online (Free, No Install)
The fastest way to remove vocals from a song is a free online vocal remover. The steps are nearly identical on every service:
- Open VocalRemover.org in your browser.
- Upload your audio file — MP3, WAV, FLAC, and most other formats work. Use the cleanest copy you have: a lossless file separates better than a low-bitrate MP3 that has already discarded information.
- Wait while the AI separates the stems. Most songs finish in under a minute.
- Preview both outputs: the instrumental (music only) and the isolated vocal.
- Download the instrumental. Choose WAV if you plan to edit or mix it later; MP3 is fine for karaoke or casual listening.
Two honest limits: free online tools cap the file size or the number of songs per day, and your file leaves your computer — do not upload private or unreleased recordings. If the song is large, private, or one of many, use a desktop tool instead. For a fuller-featured online option, LALAL.AI offers stem separation in the browser with a free preview, and BandLab includes a free splitter inside its music-making app — check each tool’s own page for its current free limits.
How to Remove Vocals from a Song in Audacity (Free, Offline)
Audacity is the free audio editor most guides point to, and it can remove vocals without an internet connection and without uploading your audio anywhere — which matters if you are working with unreleased material. It has two ways to do it, and it is worth knowing the limits of each.
Method 1: Vocal Reduction and Isolation
- Open your song in Audacity (File, then Open).
- Select the whole track.
- Go to Effect, then Special, and choose Vocal Reduction and Isolation. The exact menu varies by version, and since Audacity 3.5 this effect is no longer installed by default — Audacity’s own help pages explain how to add it back.
- Set the Action to Remove Vocals and click Apply.
This effect targets audio panned to the centre of the stereo field, which is where lead vocals usually live in a commercial mix. It works best on older, simply mixed songs and worst on dense modern productions where the vocal shares the centre with bass, kick drum, and synths.
Method 2: AI music separation with the OpenVINO plugin
Intel’s free OpenVINO AI plugins for Audacity add a Music Separation effect that uses the same kind of AI source separation as the online tools, but runs on your own computer. Install the plugins from Audacity’s plugin pages, restart Audacity, and the effect appears in the Effect menu. The result is usually cleaner than the old centre-channel method, especially on modern mixes.
Audacity is also the right place to fix the result: trim the silence at the start, normalise the volume, or export the instrumental and the vocal as separate files. If you need the audio out of a video first, our guide to how to extract audio from video shows the free tools for that step.
How to Remove Vocals from a Song on iPhone and Android
On a phone, an app is faster than a browser tab:
- Moises (iPhone and Android): the most capable mobile option. It separates vocals, drums, bass, and other instruments, and can also adjust tempo and key and show chords — useful for practice and rehearsal. A free tier covers occasional use; heavier use needs a paid plan, so check the app’s own pricing before you commit.
- BandLab (iPhone and Android): a free music-making app with a built-in splitter. Good when you also want to record over the instrumental.
- Browser tools on mobile: VocalRemover.org and LALAL.AI both work in a mobile browser if you would rather not install an app — upload from your files app and download the result the same way.
One practical note: you need the actual audio file on your phone. A song inside Spotify or Apple Music is not available as a normal file for upload, so this method works with files you own — downloads, recordings, or tracks you made yourself.
How to Isolate Vocals from a Song (Make an Acapella)
Sometimes you want the opposite result: the voice alone, with the music removed. The workflow is the same — every vocal remover produces both outputs — but the choices differ slightly:
- Use the same AI tool as above and download the vocal stem instead of the instrumental.
- Listen for bleed: backing vocals, reverb, and instruments that share the vocal’s frequency range often leak into the isolated vocal. A clean studio recording isolates best; a live recording rarely isolates cleanly.
- Clean it lightly in Audacity: a gentle high-pass filter removes low rumble, and trimming the silence between phrases removes room noise.
- Export as WAV if the acapella will go into another mix; MP3 is fine for practice.
An acapella is most useful for remix practice, vocal study, and karaoke-style singalongs where you want to hear exactly how the singer phrases a line. For transcription work — turning sung or spoken words into text — our guide to the best free AI transcription tools covers the tools that handle that job.
How to Split a Song into Stems (Vocals, Drums, Bass, Guitar, Piano)
When you need more than two tracks — for a remix, a practice mix, or detailed editing — use a multi-stem splitter instead of a two-stem vocal remover. The workflow is the same (upload, wait, download), but you get four to six separate files: vocals, drums, bass, guitar, piano, and other instruments.
Moises and LALAL.AI both offer multi-stem splitting, and Apple’s Logic Pro includes a Stem Splitter that separates vocals, drums, bass, guitar, piano, and other parts on supported Apple-silicon Macs — Apple’s own Logic Pro documentation describes it. More stems mean more decisions: mute what you do not need, balance the rest, and export the mix you actually want. For casual karaoke, two stems are enough; for a remix, the full split is worth it.
Why Does My Instrumental Still Have Faint Vocals?
This is the most common complaint, and it has three usual causes:
- Reverb: the singer’s reverb is spread across the stereo field, so the model cannot tell it apart from the instruments. A little ghost of the vocal survives in the instrumental. There is no perfect fix — a light EQ cut around the vocal’s main frequency range can reduce it, at the cost of thinning the music too.
- Backing vocals and harmonies: these are often panned wide and quiet, so they survive separation more than the lead vocal. If they bother you, try a different tool — each model handles them differently.
- A low-quality source: a 128 kbps MP3 has already thrown away the detail the model needs to tell voice from music. Re-rip the song from the best source you have, or use a lossless file.
Also check the obvious: make sure you downloaded the instrumental file and not the original, and listen on headphones rather than a phone speaker — faint residue is far more audible on headphones, and far less important on a karaoke speaker.
What Format Should I Save the Instrumental In?
| What you will do with it | Best format | Why |
|---|---|---|
| Karaoke or casual listening | MP3 (192 kbps or higher) | Small file, plays everywhere |
| Edit, mix, or remix it | WAV or FLAC | Lossless — no further quality loss from editing |
| Practice along on your phone | MP3 | Small enough to keep many songs on the device |
| Upload to a video or stream | WAV, then let the platform compress it | Start clean; the platform’s compression is the last step |
The rule is simple: keep the highest-quality version as your master, and make MP3 copies for sharing. You can always compress a WAV into an MP3; you can never recover quality from an MP3.
Is It Legal to Remove Vocals from a Song?
No method changes the copyright. Removing the vocals does not remove the copyright: the instrumental you made is still the same protected sound recording and the same protected composition, just with a piece muted. What you can do with it depends on the use:
- Private practice and karaoke at home: generally fine — you made it for yourself, from a file you own.
- Posting it online, using it in a video, or selling it: needs permission from the rights holders. A vocal-removed instrumental is not a new song and not yours to distribute.
- Your own recordings: if you recorded the song yourself, or you have permission from the artist, none of this applies — separate and use them freely.
When the song is headed for release, a public video, or anything commercial, a properly licensed instrumental is the faster path: it is clean, legal, and has no artifacts. Search for licensed instrumentals from the artist or a licensing library instead of stripping vocals from a commercial release.
Frequently Asked Questions About Removing Vocals
How do I remove vocals from a song for free?
Upload the audio file to a free online AI vocal remover such as VocalRemover.org, or use Audacity’s Vocal Reduction and Isolation effect offline. Both are free; online tools are faster, Audacity has no upload limits.
What is the best free vocal remover?
For a single song, VocalRemover.org is the fastest free option. For regular work, Audacity with the OpenVINO AI plugin gives better results offline. For phones, Moises is the most capable free app.
How do I remove vocals from a song in Audacity?
Open the song, select the track, go to Effect, then Special, and choose Vocal Reduction and Isolation with the Action set to Remove Vocals. For cleaner results, install Intel’s free OpenVINO plugins and use their Music Separation effect instead.
Can I remove vocals on my phone?
Yes. Moises on iPhone and Android separates vocals and instruments and adjusts tempo and key. Browser tools such as VocalRemover.org also work on a phone if you have the audio file saved on the device.
Why does my instrumental still have faint vocals?
Usually reverb, backing vocals, or a low-quality source file. Try a different tool, start from a lossless file, and accept that a small amount of residue is normal — the result is an estimate, not the original studio tracks.
Is it legal to remove vocals from a song?
Removing vocals for private practice is fine, but the instrumental is still copyrighted. Posting it, using it in a video, or selling it needs permission from the rights holders.
Removing vocals used to need a studio; today it takes a browser tab and a few minutes. Use the free online tools for a quick karaoke track, Audacity when the work repeats, and a licensed instrumental when the song is going public. For more tools that turn audio and video into something you can work with, browse the Digital Discoverist homepage, where our latest AI tool guides are collected in one place.
3 thoughts on “How to Remove Vocals from a Song in 2027: Free AI Tools and Easy Methods”