How to Take Professional Headshots at Home: The Short Answer
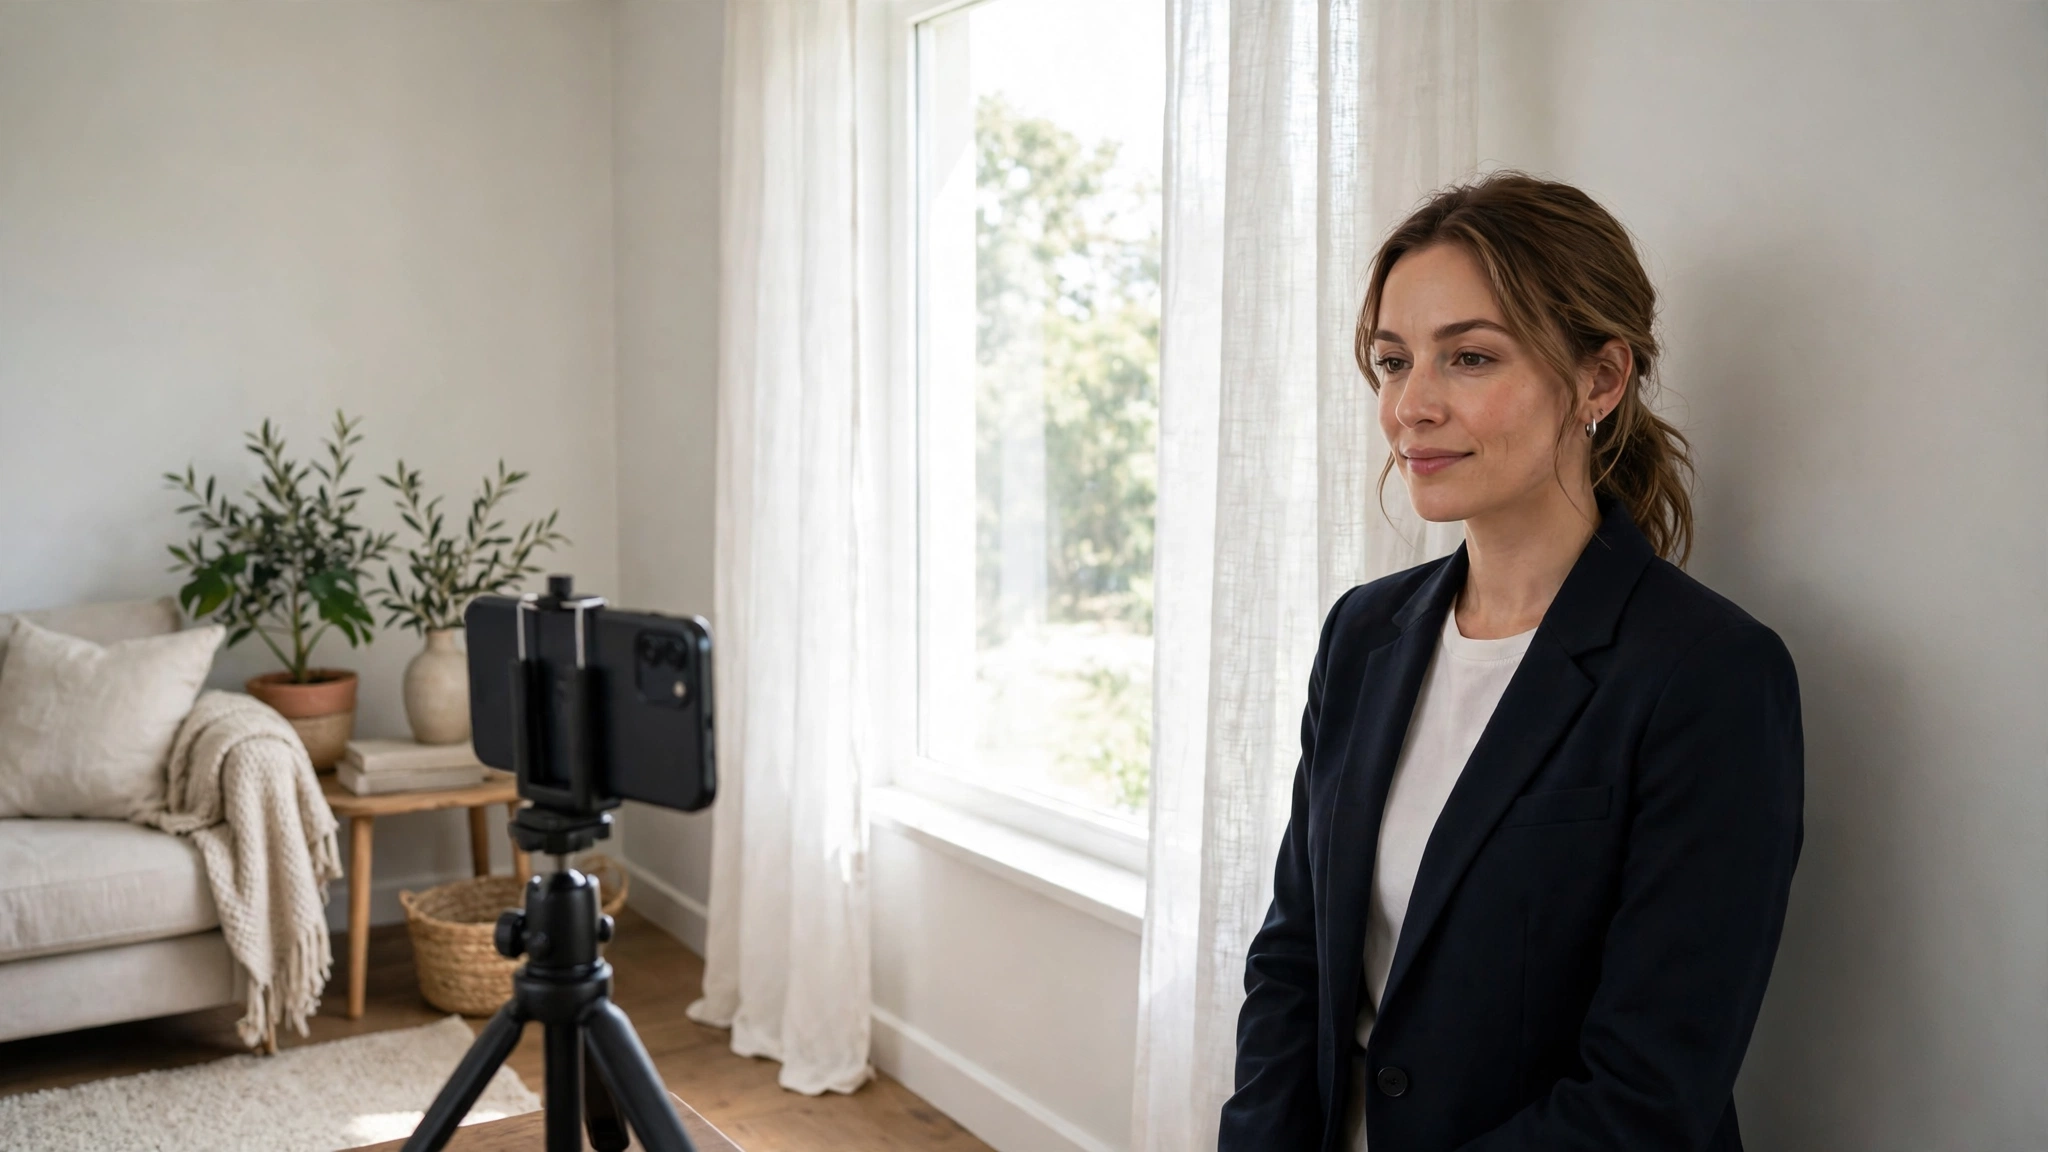
To take professional headshots at home, stand facing a large window in soft daylight, put your phone’s rear camera on a tripod or stack of books at eye level about four to six feet away, frame head and shoulders against a plain wall, wear a solid colour, and take at least 30 photos across a few expressions. Then pick the sharpest, most natural shot and edit it lightly. You do not need a studio or an expensive camera — the light, the background, and the framing matter far more than the gear. If you would rather skip the shoot entirely, an AI headshot generator can build one from your selfies instead.
Table of Contents
Key Takeaways
- Light is 60% of a headshot: soft window light beats any camera upgrade.
- Use the rear camera, at eye level, four to six feet away, with your head and shoulders filling 60–70% of the frame.
- A plain wall, a solid-colour top, and a relaxed expression do more than any filter.
- Take 30 photos, not 3 — the keeper is rarely the first frame.
- Edit lightly: crop, straighten, and brighten. Do not smooth your skin into plastic.
- AI headshot generators are a good backup when DIY is not working — but the photo must still look like you.
What You Need to Take Professional Headshots at Home
- A smartphone made in the last few years (the rear camera is enough).
- A tripod, phone stand, or a stack of books to hold the phone at eye level.
- A large window with soft, indirect daylight — or an overcast day.
- A plain wall in white, light grey, soft blue, or beige.
- A solid-colour top that fits your industry.
- 30 minutes and a little patience.
That is the whole kit. No studio lights, no backdrop, no DSLR required.
Step 1: Find Your Best Light
Lighting makes or breaks a headshot. Stand facing a large window so soft daylight falls evenly on your face. The best light is indirect: an overcast day is ideal, and on a sunny day a sheer curtain softens harsh sun. Turn off the overhead lights in the room — ceiling lights cast shadows under your eyes and nose and fight the window light.
Late morning or early afternoon usually gives the most consistent light. Avoid direct sun on your face: it makes you squint and carves hard shadows. If the only window light is too strong, step back a foot or two from the window rather than standing against the glass.
Step 2: Choose a Simple Background
The best headshot backgrounds are the ones nobody notices. A plain wall in white, light grey, soft blue, or beige frames your face without competing with it. Stand three to four feet in front of the wall so your shadow falls behind you, not on the wall, and the background blurs slightly.
Skip busy bookshelves, plants, kitchens, and anything with text or logos behind you. If you have no plain wall, hang a plain bedsheet or curtain — it works fine as long as it is smooth and uncreased. For more on cleaning up imperfect shots afterwards, see our guide on how to fix grainy photos.
Step 3: Set Up Your Phone Camera
Your phone is good enough — but only if you set it up right:
- Use the rear camera, not the selfie camera. The rear camera has higher resolution and a more natural focal length; the front camera widens your face and makes your nose look bigger.
- Put the phone at eye level. A tripod is ideal; a stack of books on a shelf works just as well. Below eye level looks up your nose; far above shrinks your face.
- Stand four to six feet away. This distance flatters facial proportions. If your phone has a 2x or telephoto lens, use that rather than digital zoom.
- Use the self-timer. Set a 3-second or 10-second delay, or use burst mode, so you are not lunging for the shutter button.
- Lock focus and exposure. Tap and hold on your face on the screen until the focus locks, so the phone does not hunt for focus mid-shoot.
Step 4: Frame the Shot
Frame head and shoulders, with your head and shoulders filling about 60–70% of the vertical frame. The top of your head should sit a little below the top edge, your shoulders should crop in the lower third, and your eye line should fall about a third of the way down the frame. Leave a little space above your head so you can crop later — you can always crop tighter, but you cannot add back a chopped-off forehead.
Step 5: Dress for Your Industry
Dress the way you would for a real meeting with the people who will see the photo. Solid colours photograph best: navy, charcoal, burgundy, dark green, or white with a jacket. Avoid tiny stripes and busy patterns — they create a shimmering moiré effect on camera — and avoid neon, logos, and slogan text. Keep jewellery simple and skip sunglasses and hats. The photo is about your face; the clothes should not compete with it.
Step 6: Pose Naturally
Posing is where most DIY headshots fail, and the fix is simple: relax first, then pose.
- Relax your shoulders and drop them away from your ears.
- Turn your body slightly to one side, then bring your face back toward the lens — a full-on square stance looks like a passport photo.
- Chin level, not tucked down and not tilted up.
- Think of a slight smile — like you just saw a friendly colleague across the room — rather than a forced grin.
- Exhale once right before the shot. It releases the tension in your jaw that the camera always catches.
Step 7: Take 30 Photos, Not 3
The biggest DIY mistake is stopping after one or two photos. Expression, eye focus, and timing change in a fraction of a second, and the keeper is rarely the first frame. Block out 30 minutes and plan three setups: a head-and-shoulders shot near the window, a slightly looser crop in front of the wall, and a tighter close crop with the phone a foot closer. Take ten photos per setup and change one thing at a time — expression, head angle, or shoulder angle — so you can tell what actually worked.
How to Edit a Headshot Without Overdoing It
Good editing is invisible. Do these four things and stop:
- Crop to the platform’s size (see the table below) and straighten the frame.
- Brighten slightly if the photo is dark — a small exposure lift, not a new lighting setup.
- Fix the colour if the white balance is off (too yellow from indoor lights or too blue from shade).
- Sharpen gently if the image is slightly soft.
Do not smooth your skin until it looks like plastic, whiten your eyes, or slim your face. Recruiters and clients meet the real you eventually, and a photo that does not look like you is worse than a slightly imperfect one. Free tools that handle all four steps include Canva and Adobe Lightroom; our best free AI photo editors guide compares more options.
DIY vs AI Headshot Generator: Which Is Better?
| DIY headshot at home | AI headshot generator | |
|---|---|---|
| Cost | Free | Free tier exists; best results often paid |
| Time | About an hour including setup | Minutes once selfies are uploaded |
| Looks like you | Yes — it is a real photo of you | Usually, but check every result carefully |
| Control | Full — light, pose, background | Limited — you pick a style, the AI decides |
| Best when | You want an honest, current photo | You need many styles fast, or DIY keeps failing |
| Risk | A bad photo if the light is wrong | Over-polished or subtly wrong features |
If you go the AI route, use a generator that asks for several real selfies and compare its output against a current photo of yourself before using it anywhere professional. Our free AI headshot generator guide lists the tools with genuinely free tiers and the catches to check. Whichever route you take, the same rule applies: the headshot must be recognisably you, today — not a polished stranger.
Headshot Sizes by Platform
| Platform | Recommended size | Notes |
|---|---|---|
| LinkedIn profile photo | 400 × 400 px minimum | Displays as a circle — keep your face centred with space around it |
| CV / resume photo | 300 × 300 px or larger | Only include a photo if it is expected in your country or industry |
| Company website / About page | 800 × 800 px | Square crop works best; match your colleagues’ framing |
| Speaking bio / conference | 1000 × 1000 px or larger | Organisers may crop it for print or slides |
Save the full-resolution original and export each crop from it — do not crop a crop. LinkedIn’s own help pages confirm the profile photo guidance; check LinkedIn Help if the requirements change.
When Should You Hire a Photographer Instead?
DIY covers most needs, but hire a professional when the photo carries real weight: a company leadership page, a book cover, a speaking career, or a job search where first impressions decide whether you get the interview. A professional brings directed posing, controlled light, and retouching that stays honest — and a session usually takes less than an hour. Prices vary widely by city and photographer, so get two or three quotes before booking.
Your Headshot Checklist
- Window light, soft and indirect; overhead lights off
- Plain wall, three to four feet behind you
- Rear camera at eye level, four to six feet away, timer on
- Head and shoulders filling 60–70% of the frame
- Solid-colour top, no busy patterns or logos
- Shoulders relaxed, body slightly turned, slight smile
- 30 photos across three setups
- Pick the sharpest, most natural shot; edit lightly
- Export the right size for each platform
Frequently Asked Questions
How do I take a professional headshot at home?
Stand facing a large window for soft light, put your phone’s rear camera on a tripod at eye level four to six feet away, frame head and shoulders against a plain wall, wear a solid colour, and take around 30 photos across a few expressions. Pick the sharpest, most natural one and edit it lightly.
What lighting is best for a headshot at home?
Soft, indirect daylight from a large window — an overcast day is ideal. Avoid direct sun on your face and turn off overhead lights, which cast shadows under your eyes.
What background should I use for a headshot?
A plain wall in white, light grey, soft blue, or beige, with you standing three to four feet in front of it. Avoid busy shelves, plants, kitchens, and anything with text or logos.
Can I use my phone for a professional headshot?
Yes. A recent smartphone’s rear camera is good enough for LinkedIn and company websites, provided you use a tripod, eye-level framing, and good window light. The camera matters far less than the light and the framing.
Should I use an AI headshot generator instead of taking my own?
An AI generator is a good backup when DIY is not working or you need many styles quickly — but check every result against a current photo of yourself. A real photo you took at home is more honest and usually more accurate.
What size should a LinkedIn headshot be?
At least 400 × 400 pixels, and remember LinkedIn displays it as a circle — keep your face centred with space around it so nothing important is cropped out.
How do I edit a headshot without overdoing it?
Crop, straighten, brighten slightly, and fix the colour if needed — then stop. Do not smooth skin, whiten eyes, or reshape your face. Free tools such as Canva and Adobe Lightroom handle all four steps.
What should I wear for a headshot?
What you would wear to a real meeting: a solid colour, no tiny stripes or busy patterns, no logos or slogans. Navy, charcoal, burgundy, and dark green photograph well across industries.
The Bottom Line
A professional headshot at home comes down to five things: soft window light, a plain background, a phone at eye level, a relaxed expression, and enough frames to find the keeper. You already own everything you need. If the DIY route is not working after a real attempt, an AI headshot generator is a fair plan B — just make sure the result still looks like you. For the rest of your photo toolkit, the best AI tools roundup on Digital Discoverist is a good next stop.
3 thoughts on “How to Take Professional Headshots at Home in 2027: A Step-by-Step Guide”