How to Screen Record on iPhone 16: The Short Answer
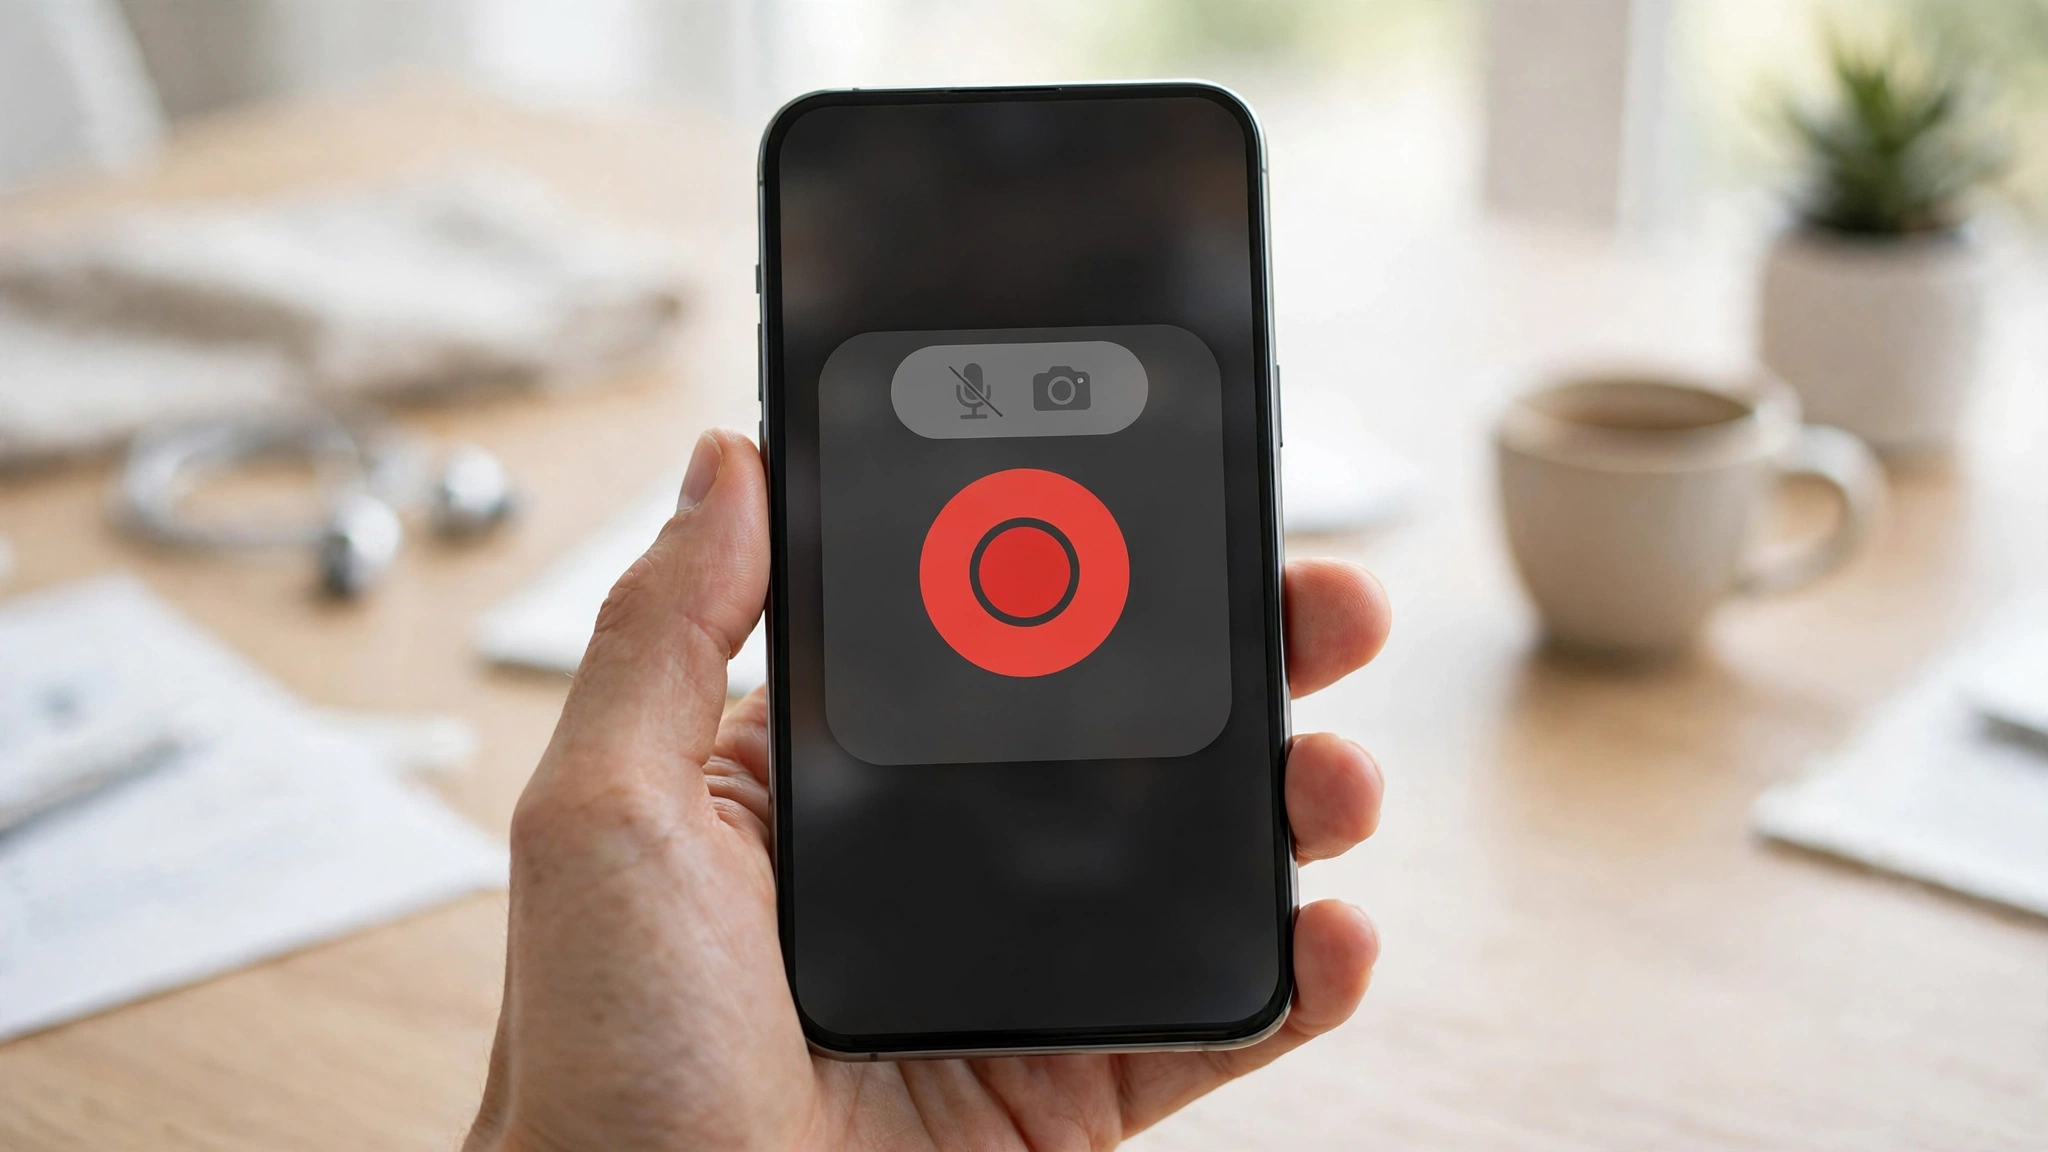
To screen record on iPhone 16, open Control Center by swiping down from the top-right corner, tap the Screen Recording button — a solid circle inside a ring — and wait for the three-second countdown. Everything on your screen is then recorded as a video and saved to the Photos app. No extra app is needed: screen recording is built into iOS. This guide covers the full sequence — adding the button if it is missing, recording with your voice, stopping and finding the video, trimming it, and fixing the two problems everyone actually hits: a black screen and a silent recording.
Table of Contents
Key Takeaways
- Screen recording is built into iOS — no app to install, and it works on every iPhone 16.
- On iPhone 16, open Control Center by swiping down from the top-right corner, then tap the Screen Recording button and wait for the three-second countdown.
- The microphone is OFF by default: long-press the Screen Recording button and turn Microphone on before you start if you want your voice in the video.
- Stop by tapping the red indicator in the Dynamic Island or status bar, then tap Stop — or open Control Center and tap the button again.
- Recordings save automatically to the Photos app, where you can trim, share, or delete them.
- Protected video from apps such as Netflix records as a black screen — that is a copyright protection, not a fault with your phone.
Before You Start: What You Need
Screen recording has been built into iOS since iOS 11, so every iPhone 16 supports it out of the box — the phone shipped with iOS 18. You need three things before you begin: the Screen Recording button in Control Center, enough free storage for a video file, and a charged battery, because recording uses both. A minute of screen recording is a modest file, but a 20-minute recording is not, so check your free space in Settings > General > iPhone Storage if you plan to record something long.
One more thing worth knowing before you start: your iPhone 16 uses Face ID, so there is no Home button. Every gesture in this guide uses the Face ID layout — swipe down from the top-right corner for Control Center. If you also use an older iPhone with a Home button, the same feature exists there, but you open Control Center by swiping up from the bottom instead.
How to Add the Screen Record Button on iPhone 16
On many iPhone 16 phones the Screen Recording button is already in Control Center. If yours is missing, add it once and it stays there.
- Open Control Center by swiping down from the top-right corner of the screen.
- Press and hold an empty area of Control Center until the controls start to wobble and editing controls appear.
- Tap Add a Control at the bottom of the screen. A gallery of available controls opens.
- Find Screen Recording — its icon is a solid circle inside a larger ring — and tap it. The button is added to your Control Center.
- Tap an empty area to finish editing. You can drag the button to a position you like while editing.
On older versions of iOS the path is different: Settings > Control Center, then tap the green plus next to Screen Recording. If you cannot find the steps above, check your installed iOS version in Settings > General > About, and follow Apple’s own screen recording guide for that version.
How to Screen Record on iPhone 16
Once the button is in Control Center, recording takes seconds.
- Open Control Center by swiping down from the top-right corner.
- Tap the Screen Recording button. A three-second countdown begins — 3, 2, 1 — giving you time to get to the screen you want to record.
- Do what you want to show. Your iPhone records everything on screen. A red indicator appears in the Dynamic Island at the top of the screen while recording is active.
- Stop the recording by tapping the red indicator in the Dynamic Island, then tapping Stop — or open Control Center again and tap the Screen Recording button.
- Find the video in the Photos app. A notification appears when the recording is saved; tap it to open the video, or find it later in Photos under Media Types > Screen Recordings.
While recording, your phone also captures the sound playing on the device — the audio from a video you play, for example. What it does not capture by default is your voice or the sounds around you. That needs the microphone, covered next.
How to Screen Record on iPhone 16 with Sound
There are two kinds of sound in a screen recording, and they are controlled separately. The audio from apps — music, a video’s soundtrack, a game’s sound — is captured automatically. Your voice and the sounds around you are not, because the microphone is off by default. To narrate your recording, turn the microphone on before you start.
- Open Control Center by swiping down from the top-right corner.
- Press and hold the Screen Recording button — a long press, not a tap. A larger panel opens.
- Tap Microphone to turn it on. The icon turns red when the microphone is enabled.
- Tap Start Recording. The three-second countdown begins, and your voice is now recorded along with the screen.
Test this before an important recording: record ten seconds of yourself talking, play it back, and check the voice is actually there. The most common reason for a silent recording is starting with a quick tap instead of a long press, which skips the microphone panel entirely.
Where Do Screen Recordings Save on iPhone 16?
Every screen recording saves automatically to the Photos app as a video file. The quickest way to find it is to tap the notification that appears when the recording finishes. Otherwise, open Photos, go to Collections, scroll to Media Types, and open Screen Recordings — every recording you have made is listed there.
You can trim a recording without any extra app. Open the video in Photos, tap Edit, and drag the sliders at the start and end of the timeline to cut off the countdown or the fumbling at the end. Tap Done, then choose Save Video to replace the original or Save Video as New Clip to keep both. If you need to turn the recording into something else — a GIF, a compressed file, or a clip with captions — our guide to best AI video editing tools covers editors that can do that on your phone or computer, and our guide on how to extract audio from video shows how to pull just the sound out of a recording.
Why Is My iPhone Screen Recording Black?
The most alarming problem has the simplest explanation. If you record while playing a protected video — Netflix, Disney+, Amazon Prime Video, or a paid streaming app — the video part of the recording comes out black, while the audio may still be there. That is a copyright protection called DRM: the app blocks its video from being captured. It is not a fault with your iPhone 16, and no setting fixes it. Screen recording works normally for everything else — apps, games, websites, settings, and your own photos and videos.
The other common problems have quick fixes.
| Problem | What causes it | The fix |
|---|---|---|
| Black screen in the recording | DRM-protected video in a streaming app | Record something else; protected video cannot be captured |
| No sound in the recording | Microphone is off, or the app blocks its audio | Long-press the button and turn Microphone on before recording; check the app’s own audio is playing |
| No Screen Recording button | It was never added to Control Center | Add it from Control Center editing, or Settings > Control Center on older iOS |
| Recording stops by itself | Storage ran out, or the battery died | Free up storage and charge the phone before long recordings |
| Recording will not start | Screen Recording is restricted, or another feature is using the screen | Check Settings > Screen Time > Content & Privacy Restrictions; stop screen mirroring, which cannot run at the same time |
| Video looks blurry | Recording a low-resolution source, or heavy compression on sharing | Recordings match your screen’s resolution; share the original file rather than a compressed copy |
How Long Can You Screen Record on iPhone 16?
There is no fixed time limit set by Apple — the limit is your storage and your battery. A screen recording is a video file, and long recordings grow large. As a practical rule, a few minutes is fine on any iPhone 16, a 30-minute recording needs a few gigabytes free, and an hour-long recording needs a charger plugged in and plenty of space. If you plan to record something long, such as a full game session or a long tutorial, plug the phone in, close apps you do not need, and check your free storage first.
One more limit is worth knowing: you cannot screen record and mirror your screen to a TV or Mac at the same time. Apple blocks the combination, so pick one or the other. And if your iPhone is managed by a school or employer, Screen Recording may be disabled by their settings — in that case only the person who manages the device can turn it back on.
Frequently Asked Questions About Screen Recording on iPhone 16
How do I screen record on iPhone 16?
Swipe down from the top-right corner to open Control Center, tap the Screen Recording button, and wait for the three-second countdown. Tap the red indicator in the Dynamic Island and then Stop to finish. The video saves to the Photos app.
Where is the screen record button on iPhone 16?
It is in Control Center. Swipe down from the top-right corner and look for a solid circle inside a ring. If it is not there, press and hold an empty area of Control Center, tap Add a Control, and add Screen Recording.
How do I screen record on iPhone 16 with sound?
Long-press the Screen Recording button in Control Center, tap Microphone to turn it on, then tap Start Recording. The microphone is off by default, so a quick tap records without your voice.
How do I stop a screen recording on iPhone 16?
Tap the red indicator in the Dynamic Island at the top of the screen, then tap Stop. Or open Control Center and tap the Screen Recording button again. The video saves to Photos automatically.
Where do screen recordings save on iPhone?
They save to the Photos app. Find them under Collections > Media Types > Screen Recordings, or tap the notification that appears when a recording finishes.
Why is my iPhone screen recording black?
You are almost certainly recording protected video from a streaming app such as Netflix. DRM copyright protection blocks the video from being captured, so it records as a black screen. This is normal and cannot be changed in settings.
Why is there no sound in my screen recording?
Either the microphone was off — long-press the button and turn Microphone on before recording — or the app you recorded blocks its audio. App audio is captured by default; your voice is not.
Can I screen record on iPhone 16 without an app?
Yes. Screen recording is built into iOS and needs no third-party app. Everything in this guide uses the built-in Control Center button.
Can I edit a screen recording on iPhone?
Yes. Open the video in Photos, tap Edit, and drag the timeline sliders to trim the start and end. For more — captions, compression, or combining clips — use a video editor app.
The Bottom Line
Screen recording on iPhone 16 is a built-in feature that takes seconds to use once the button is in Control Center: swipe down, tap, wait three seconds, and you are recording. The two things people forget are the microphone — long-press the button and turn it on if you want your voice — and the DRM limit, which turns protected streaming video black no matter what you do. For anything else, it just works, and the video is waiting in Photos when you are done. If you also need screenshots on a computer, see our guide on how to take a screenshot on Windows, and for more guides like this one, browse the How-To Guides archive here at Digital Discoverist.
3 thoughts on “How to Screen Record on iPhone 16 in 2027: The Complete Guide”