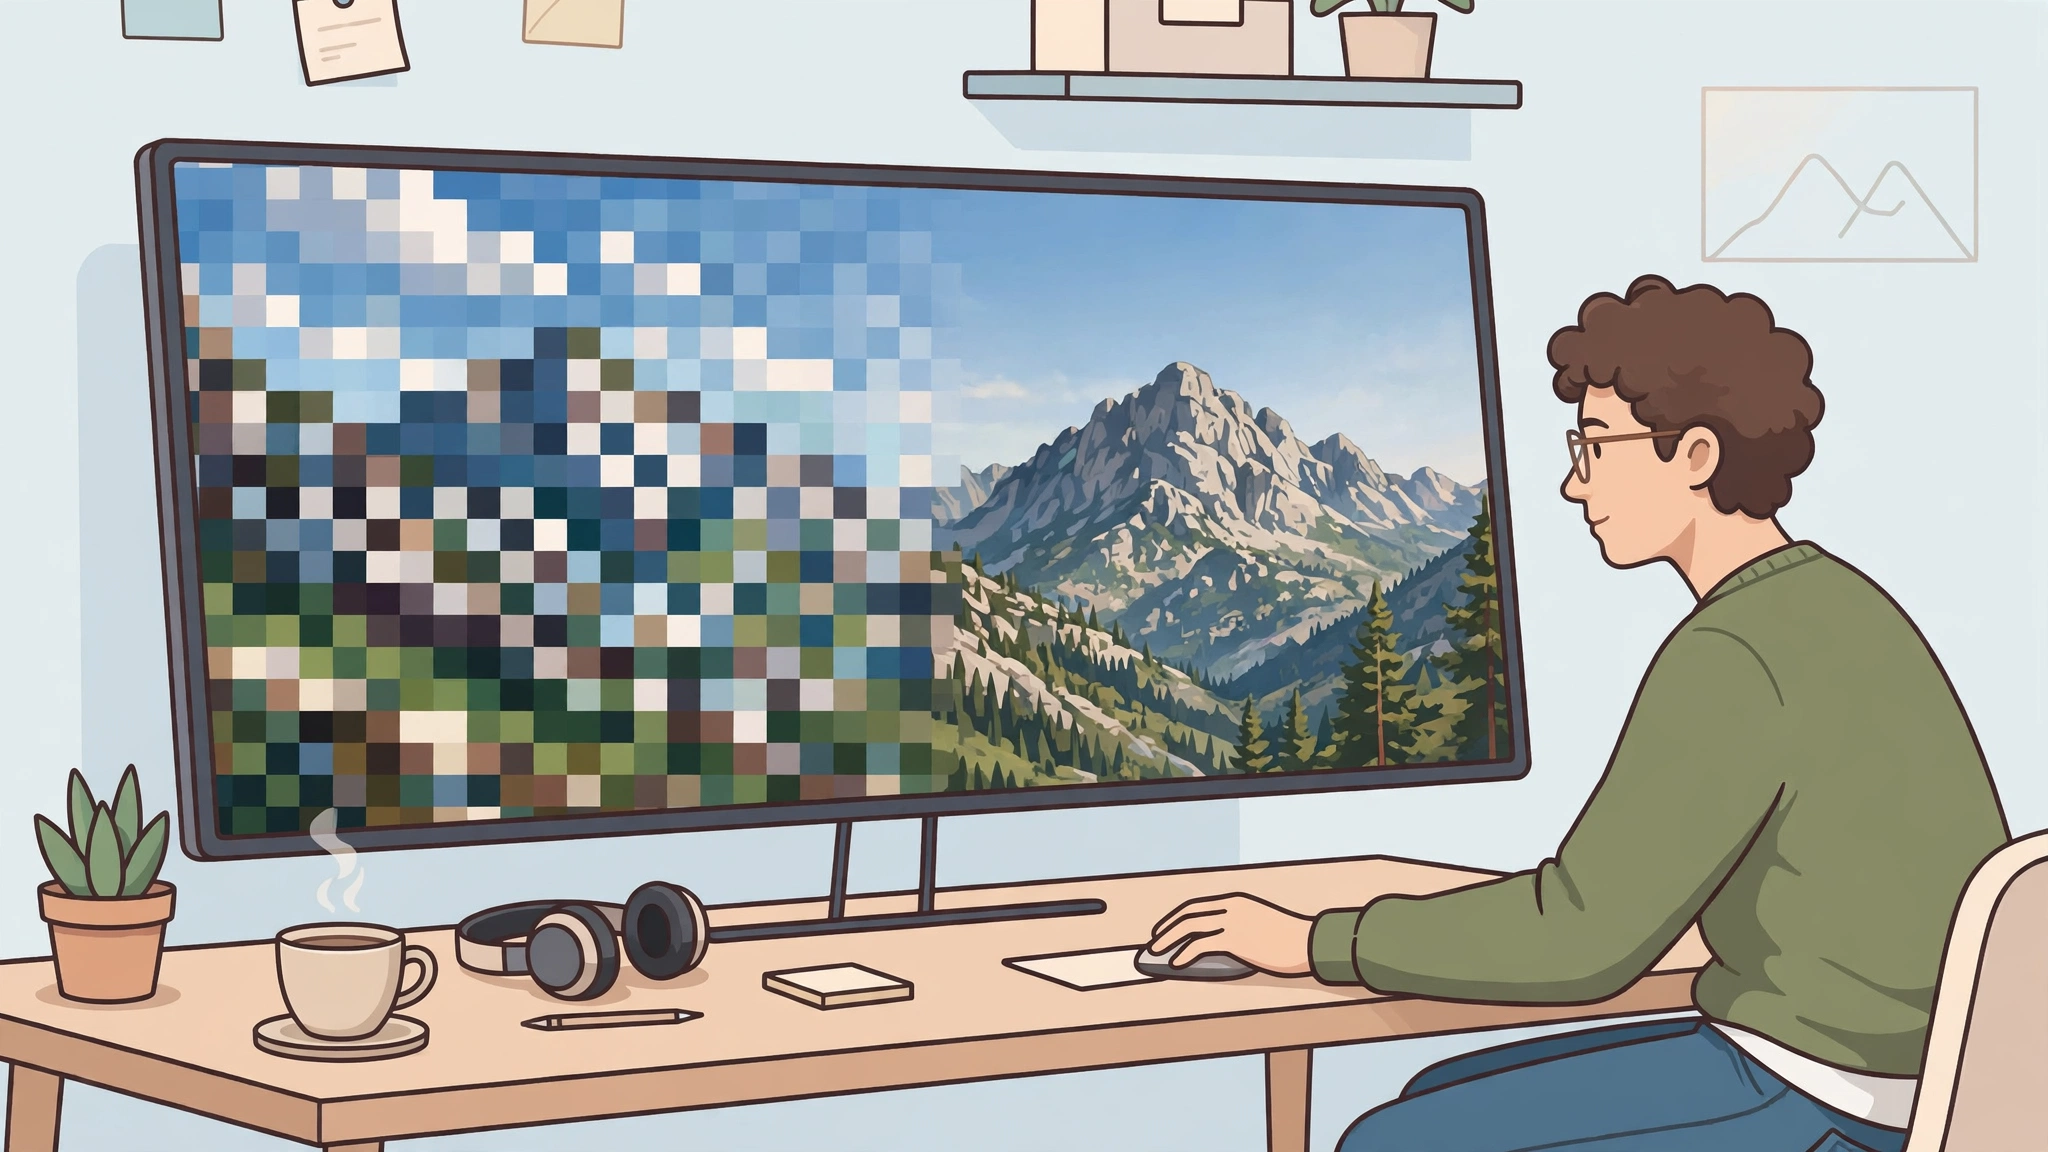
A pixelated photo looks like it is made of tiny squares. Edges turn into staircases, faces look like mosaics, and text becomes unreadable. The good news is that many pixelated photos can be made much more usable. The honest news — and the part most guides skip — is that no tool can recover detail that was never captured. Learning how to fix pixelated photos therefore starts with diagnosis: is this a display problem, a small-file problem, or a genuinely damaged file? This guide walks through that diagnosis, then the fixes that actually work, in order, for phone and computer.
Key takeaways
- Pixelation means too few pixels for the size you are viewing: a small image stretched large, a heavy crop, or repeated compression.
- First check whether the problem is real: if the photo looks fine at 100% zoom, it is a display issue, not a damaged file.
- Always start from the biggest, least-compressed original you can find — a screenshot of a photo is not an original.
- AI upscalers give the best results for mild to moderate pixelation, but the new detail is an educated guess, not the original.
- Severely pixelated photos, and deliberately blurred or censored images, cannot be honestly recovered — do not try to reverse a censor block.
Direct answer: To fix a pixelated photo, find the original file, then run it through an AI upscaler at 2x (4x only if 2x still looks soft), then sharpen lightly, and check the result at 100% zoom for invented textures. If the photo is only pixelated when zoomed in, view or print it at its native size and do not edit it at all.
Table of Contents
Why do photos get pixelated?
A digital photo is a grid of pixels. When there are too few pixels for the size you are displaying it at, each pixel gets stretched into a visible block. That happens in four main ways. First, you zoomed in on a small photo: a 400-pixel-wide image stretched across a large screen has to be blown up many times. Second, you enlarged a thumbnail from a search result or a social post — thumbnails are small on purpose. Third, compression crushed the detail: messaging apps and social platforms shrink and re-compress photos each time they are shared, and after a few rounds, soft blocks appear. Fourth, you cropped tightly into a photo, throwing away most of its pixels and then enlarging what remained. Knowing which cause applies tells you which fix has a chance. A photo that is only pixelated because you zoomed in needs no fix at all. A photo damaged by compression needs a different approach from a photo that was simply small to begin with.
How do I tell if a photo is really damaged?
Open the photo and zoom to 100% — one image pixel per screen pixel. If it looks sharp at 100% but blocky when zoomed further, the file is fine and the “damage” is just enlargement. If it still looks blocky at 100%, the file itself is low-resolution or compressed, and a repair is worth attempting. Also check the file’s pixel dimensions: a photo that is only a few hundred pixels wide cannot be printed large, however good the upscaler. This one check saves more wasted effort than any tool, because it separates the photos worth repairing from the ones worth replacing with a better original. If the photo is noisy rather than blocky, the problem is different — see our guide on how to fix grainy photos.
Can you unpixelate an image completely?
No — not in the sense of recovering the original detail. Pixelation destroys information. Once the fine detail, like individual eyelashes or the strokes of small text, is gone from the file, no filter can bring back that exact information. What modern tools can do is rebuild plausible detail: an AI upscaler guesses what a sharper version of the photo probably looked like, and for mild to moderate pixelation that guess is often very convincing. That distinction matters. A repaired photo can look great as a social post, a website image or a small print. It should not be treated as evidence of what was really there — do not use an upscaled photo as proof of a face, a number plate, or a document’s contents. And a deliberately blurred or pixelated face, or a censor block, is made to hide information: attempting to reverse it is both unreliable and, in the case of someone else’s image, a privacy violation. This guide covers accidentally damaged photos only.
How to fix pixelated photos: the method that works
Work in this order. Skipping to the upscaler before finding the best original is the most common mistake, because no tool can outperform a better source file.
- Find the best original. Check the camera roll, the messaging app’s original file, the cloud backup, and the sender. Ask the person who sent it for the original, not a screenshot of it. A screenshot of a photo is a new, worse photo.
- Crop first. Crop to the part you actually need, so the upscaler spends its effort on pixels you will keep.
- Upscale 2x, then judge. Run one AI upscaling pass at 2x. Only go to 4x if 2x still looks soft, and only if the result still looks natural.
- Sharpen lightly. A small sharpening pass (around 20–40% in most editors) can make edges read more cleanly. Too much sharpening adds halos and makes square pixels more obvious, not less.
- Check at 100%. Zoom to full size and inspect faces, text and edges for odd, invented textures. If a face looks waxy or text looks melted, the upscale went too far — step back a level.
- Export once. Save a master copy (PNG for lossless edges, JPEG at high quality for photographs), then make resized copies for each destination. Repeated JPEG saves degrade the result again.
How do I fix pixelated photos on my phone?
On a phone, open the photo in your default Photos app or a free editor and look for Enhance, Sharpen or Details. Increase sharpening gradually — a small adjustment usually works best, and over-sharpening is the fastest way to make a pixelated photo look worse. For a stronger fix, use an AI upscaler app or a browser-based upscaler: upload the best original, choose 2x, and download the result. Check it at full size on the phone before sharing it, because a result that looks clean as a thumbnail can still look waxy up close. If the photo was sent through a messaging app, check whether the app has a “send as document” or “original quality” option for next time — that one setting prevents most messaging-app pixelation before it happens.
How do I fix a pixelated photo in GIMP or Photopea?
On a computer, free editors give you more control. In GIMP, open the photo, go to Image > Scale Image, increase the width and height, and choose a high-quality interpolation method such as Lanczos. Then apply a light sharpening filter (Filters > Enhance > Sharpen, or Unsharp Mask for finer control) and adjust the slider while watching the result at 100%. In Photopea, the same idea applies: Image > Image Size to enlarge, then Filter > Sharpen. These traditional methods are honest but limited — they smooth and sharpen what is there, they do not invent new detail the way an AI upscaler does. For a badly pixelated photo, run the AI upscale first, then use GIMP or Photopea for the final sharpening and export. For browser editing options, see our online photo editor guide and our free AI photo generator guide for AI imagery.
What to do when a pixelated photo cannot be fixed
Some photos are beyond practical repair, and recognising them early saves an afternoon. If the original was taken on a very old phone camera, heavily compressed through several shares, or saved at a tiny size, an upscaler can make it look smoother, but it cannot make it sharp — the result will look like a painting, not a photograph. In that case, your options are: find a better original (ask the photographer, check a cloud backup, check the camera’s memory card), accept a smaller display size (a photo that looks bad at full screen can look fine as a small web image), or use the photo differently (as a small thumbnail, or cropped to the one sharp area). Do not keep pushing the upscale higher hoping for a miracle — each extra pass invents more detail that was never there, and the photo drifts further from reality.
How to stop photos becoming pixelated
- Send originals, not screenshots. Use “send as file” or “original quality” in messaging apps, or share a cloud link.
- Do not re-save JPEGs repeatedly. Each save re-compresses the photo. Edit from a master copy and export fresh copies.
- Export at the right size, once. Decide the final size first, then export for that size — enlarging later is what creates blocks.
- Keep the original. Store the camera original separately from edited copies, so a bad edit never destroys your only good version.
- Check before you print. A photo that looks fine on a phone screen can still be too small for a large print. Check pixel dimensions against the print size first.
The honest summary: how to fix pixelated photos is really two skills — recovering what can be recovered, and recognising what cannot. Start from the best original, upscale once at 2x, sharpen lightly, check at full size, and stop when the result looks natural. That workflow rescues most accidentally damaged photos, and it keeps you from spending hours chasing detail that was never in the file. For the full background, see the Instasize guide to fixing a pixelated image and the ClearCrowds guide on what actually helps.
Frequently asked questions
How do I fix a pixelated image online for free?
Upload the best original to a free AI upscaler or a browser editor, run one 2x upscale, check the result at full size, and download it. Free tiers usually limit the number of upscales or the output size, so test on a cropped section first before processing the whole photo.
Does sharpening remove pixelation?
Not by itself. Sharpening increases edge contrast, which can make a modest enlargement look crisper, but too much sharpening adds halos and makes square pixels more obvious. Sharpening works best as a light finishing step after upscaling, not as the fix itself.
Can AI fix a very old, tiny photo?
Partly. AI upscaling can make a tiny photo look smoother and more presentable, especially at small display sizes. It cannot restore fine detail that was never captured, and at large sizes the result will still look soft or painterly.
Is pixelation the same as grain?
No. Pixelation is blocky, square-edged damage from too few pixels or heavy compression. Grain (noise) is speckled texture from low light or high ISO. They need different fixes — see our grainy-photo guide for noise.